
One of the keys to successfully selling clothing online is presenting the items you’re trying to sell in a manner that highlights the quality of the clothing and captures the interest of potential customers, Taking the time to carefully prepare and photograph clothing before you upload the photos to your online store can offer your customers a great shopping experience and reduce the number of inquiries, customer service questions and product returns that can consume a great deal of your time. For high-quality photos, you can contact professionals from Pro Photo Studio.
1. Preparing Clothing for Photos
Preparing to clothe for photos is the most crucial step in this process. A good place to start is to collect all of the clothing you want to photograph in one place. It will be beneficial if you have a
garment rack available to hang the clothing on as you unpack it (if it was shipped to you) or as you begin to work with the items to prepare them for photography. (You can purchase garment racks from retailers such as Walmart, Target, or Amazon for $20 to $30.) Storing your clothing on garment racks will also help keep it clean and wrinkle-free until you’re ready to package and ship it.
The clothing should also be as wrinkle free as possible for photos. Each piece of clothing should either be pressed with iron or steamed and then hung on the garment rack. Steaming is the preferred method as it is less harsh on fabric. If you’re planning on taking photos of a large quantity of clothing or selling clothing online on an ongoing basis, it’s probably worth investing in a commercial-grade steamer which will steam a high volume of clothing relatively quickly. If you’re not planning on having to steam a high volume of clothing, you can also consider a less expensive steamer (like those made for travelers), which will do a good job but take more time to remove wrinkles from clothing.

If you’re not able to remove wrinkles on any garments using an iron or a steamer, consider taking these to a professional dry cleaning company to have them pressed.
As you’re working to remove wrinkles from each garment, inspect it for any other flaws or problems: • If the garment has buttons, make sure that none of them are missing.
- If the garment has other fasteners like ties, make sure they are in good shape.
- Look for other flaws such as loose threads, rips, broken zippers, etc. Either repair these or make sure you include a description of any flaws in the article’s description and adjust the price accordingly when you upload it to the site for sale.
After the items have been steamed and inspected, run a lint roller over each garment to remove any remaining dust, lint, or loose threads. Even tiny things like this can show up in photos and distract or discourage customers from purchasing the item.
After taking all of the above steps, your merchandise will be ready to be photographed!
If you want to find more info check: https://
2. Clothing Display Options
There are three methods that online merchants typically use to photograph clothing:
- Flat lay photography – positioning the garments on a flat surface and taking photos from overhead
- Mannequin or invisible mannequin – which involves placing the garments on a mannequin for styling
- Live model – using a person to pose for photos while wearing the clothing
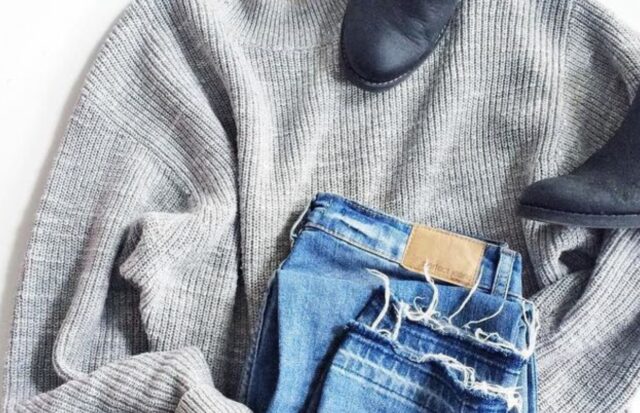
3. Flat lay photography
The flat lay photography method is the least expensive way to photograph clothing. It works very well for shirts, socks, underclothing, pants, and trousers.
Create a solid white background for the clothing you’re photographing by placing a large piece of white paper or a white sheet on the ground. Lay the item you wish to photograph out on the white background making sure the item looks its best. Collars should be neatly in place, buttons fastened, fabric smoothed out (sometimes inserting a piece of cardboard inside an item can smooth out any wrinkles). Consider using the knolling process of arranging some accessories or complementary items with the garment to increase interest in the item or give potential customers an idea of how they might use the item. The photos should clearly communicate a common theme of some sort (i.e., casual or formal occasion of some type, complimentary colors, etc.). One example of this is placing activewear garments (leggings and sports bras) and some exercise equipment. Another example would be to place some jewelry and high heels in a photo with a formal dress.
Resist the temptation to try to photograph clothing while it’s folded as it’s more difficult for potential customers to envision how the garment will look when worn.
Although flat lay photography can be very successful and is the most cost-effective approach, using a mannequin or model to display clothing provides customers with a better impression of how a garment looks when it’s actually being worn than the flat lay method,
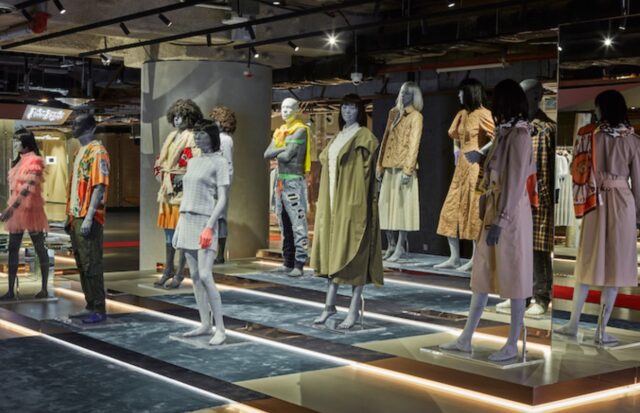
4. Use of Mannequins
Using mannequins to display clothing in photos provides customers with a more realistic view of how the clothing might look when worn. For best results, shoot the clothing items’ photos on the mannequin from the front straight on. A full mannequin is best, with full arms and legs, as this helps customers better visualize how the garment will look when worn. Sleeves, pant legs, etc., will be filled out more completely. Although mannequins in department stores are posed in various positions and angles, the best view for marketing photos is a direct front shot. If there are features on the back of the item, you would like to highlight, take that photo straight on and upload both photos to the site for that particular product.
Depending on how much time you have, you can also use a technique called an ‘invisible mannequin’ or ‘ghost mannequin’ technique. Using this technique, you take multiple photographs of a garment on a mannequin and then use product photo editing (click here to start now) to combine the photos and remove any parts of the mannequin visible from the photo. The result is a very lifelike image of only the garment itself.
5. Use of Live models
Although using a live model to display your clothing is the most expensive method if it’s within your budget to hire a model this is the best way to create the most realistic impression of how any particular garment may fit your customers and the added benefits a professional model can bring to a photoshoot may outweigh the cost. A model can move around and strike various poses that bring natural movement to the clothing and highlight a garment’s specific features. This can give clothing more of a personality which can increase customer interest.
Unfortunately, using models does cost more than the flat lay and mannequin photography methods, and it also requires you to schedule time with any available models for a shoot. In contrast, you can perform the flat lay and mannequin shoots at your convenience.
6. Photography Equipment
There are various photography equipment options that you can choose from depending on your needs and budget.
7. Smartphones
With the quality of photos taken with smartphones getting better and better all the time, this is obviously the lowest cost method. However, if you plan to grow your online clothing retail business, you may want to consider investing in some additional equipment that can provide you with improved photo quality. Smartphone pictures can look great with bright, natural lighting. If you can position your photography sitting next to a large, bright window, a smartphone should provide perfectly acceptable photos.
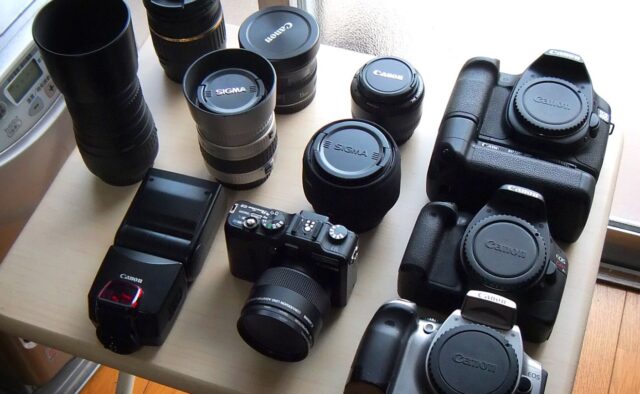
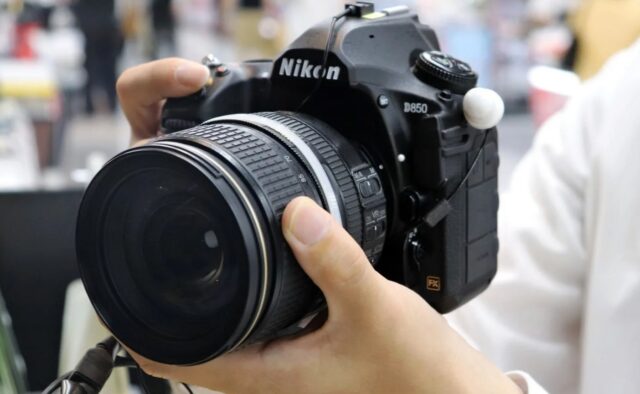
8. Camera types
Digital Single Lens Reflex (or DSLR) cameras are a great option if you own one or have access to one. The photos taken with these cameras will give your photos high quality and professional appearance. They produce a higher megapixel count that can capture the color and detail of garments more accurately and vividly.
The high end ‘mirrorless’ cameras are a newer technology that has amazing image sensor capabilities. These cameras are more expensive than the DSLR cameras but will capture even more detail and are physically a lighter weight than the DSLR cameras, making them easier to handle.
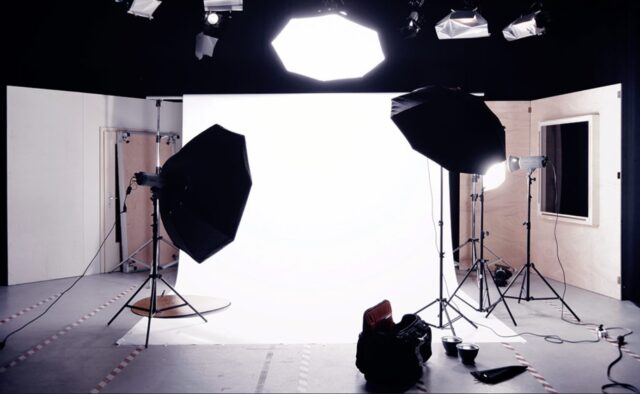
9. Lighting equipment
Lighting is essential for any photography project, but for clothing, in particular, it’s essential. Potential buyers are looking very closely at all of the details of an item of clothing.
If you can plan your photo shoot for a bright day and have a large window that brings a lot of natural light into the room you’re using, this is a great option. However, using natural light can be challenging if you have many photos to shoot as it will not provide a source of steady and bright light.
Investing in or renting a lighting kit will provide you with more flexibility as to the time and location of a photo shoot and can also produce a more professional effect. A good basic lighting kit will include two or three lights – one primary or key light, fill light, and a backlight.
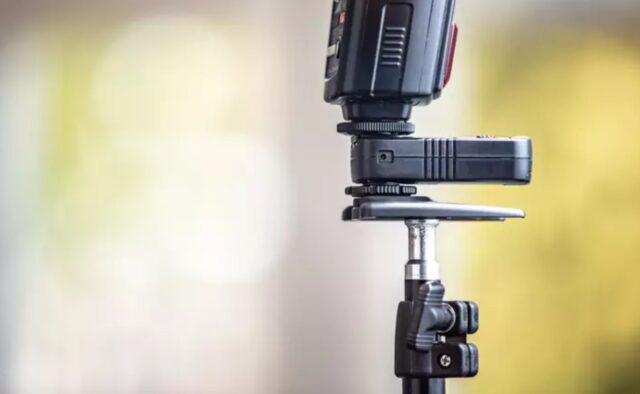
10. Wireless Lighting Trigger
If you’re using lighting equipment with a digital or mirrorless camera, you’ll need a wireless lighting trigger. You’ll also need to make sure that the trigger is compatible with the model of the camera you’re using as the trigger will communicate between the camera and the lighting equipment to ensure that the flash or strobe of the lighting fires at the correct time for the camera to capture the photo.
11. Backdrop kit
A good backdrop for your photographs is also fundamental. As mentioned above, your backdrop should be plain white. You can use a solid white wall, white paper, a white sheet, or you can purchase a plain white photography studio backdrop kit. Ideally, you want the backdrop to be large enough to photograph a full-length mannequin and accommodate long dresses or clothing items you may wish to sell.
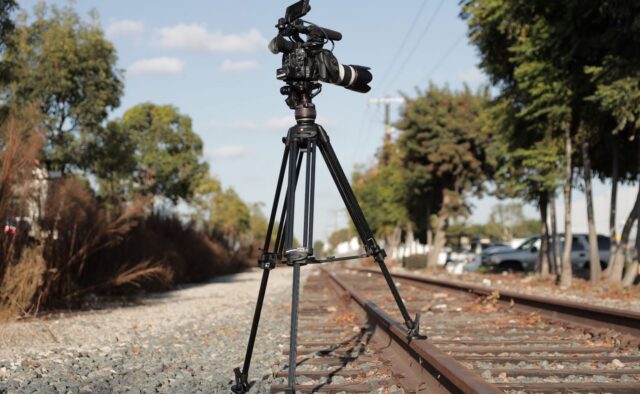
12. Tripod
Although a tripod is not necessary, these can be very helpful and eliminate any poor quality photos that could be caused by the shaking of your hand holding the camera for long periods of time. If you want to use a tripod, search for one that extends to the height of your eye level and has a built-in bubble or ‘spirit’ leveling capability, which will help set up the tripod.
13. Setting Up To Shoot Photos
The location of your photo shoot or your photography studio can be virtually anywhere. It can be a professional studio, a space in the back of a store, or a room in your home. With the correct setup, you can shoot great photos anywhere. Set up your equipment in the following order:
14. Studio Setup
- Set up your backdrop first. If you’re performing flay lay photos, this will be on the floor. If you’re performing photos using a mannequin or model, the backdrop will be upright. Once your backdrop is in place, you can set up the camera and lighting
- Set up your tripod and camera to point directly at the backdrop.
- If you only have one light, set it up at a 45-degree angle from your backdrop. If you’re using multiple lights, set up one light next to your camera and direct this light toward the backdrop. Then set up the second light a 45-degree angle from your backdrop and a little further away from the first light. If you’re using a third light (i.e., a backlight), place this light between the light and the second light and the backdrop.
- If using a mannequin or model, they should be positioned in the center of your camera frame and should take up the majority of your frame. Make adjustments as needed to your tripod and camera position to achieve this instead of using digital zoom as the zoom option can lower your photos’ quality.
- Have spare batteries and bulbs on hand for your equipment so that you can replace these quickly if needed. This will help prevent delays once you begin the shoot.
15. Camera Settings
If you’re using a digital camera, the three settings you will need to check are the aperture, the shutter speed, and the ISO sensitivity (which is a measure of the camera’s ability to capture light). The combined aperture, shutter speed, and ISO settings control the brightness or darkness of the image or photo.
- Aperture – The aperture setting controls how much light is entering a camera and is indicated by a series of ‘f’ stops. A high aperture setting means that less light is entering the camera and is a good setting when you want everything in your shot to be in focus. For shooting pictures of clothing, the recommended setting is somewhere between f/8 and f/11. This setting will enable you to get a more focused picture of your clothing items.
- Shutter speed – This setting controls how long the camera shutter will remain open. The recommended setting for photographing clothing is around 1/125 or 1/200.
- ISO – The recommended ISO setting for taking photos of clothing is somewhere between 400 and 600.
16. Time to Take Some Photos!
Select a garment from your rack and either position it as described above for a flat lay photograph or place it on a mannequin or model. Work with the garment to present it in the best possible way. Capture as many details as possible for each individual garment, too, so that you can offer customers an experience similar to that of shopping in a department store. If they feel like they can learn as much about the garment from the photos as physically touching and looking at the item closely, they will be more comfortable with a purchase.
- Use pins to hide labels or stabilize features of the garment such as collars and sleeves as they may appear when worn
- If using a mannequin, gather and secure excess material out of sight with pins.
- You can use a fan to give a garment some movement on a mannequin for some interesting pictures, too.
- Take multiple photos of each item, including all of the features such as close-ups of the fabric detail, buttons, stitching, zippers, etc.
- Take photos of any flaws in the clothing, such as tears (and reference this when describing the item).
17. Editing Your Photos
After you’ve finished taking all of your photos, the next step is to review and edit them. This process can take quite a bit of time. Still, if you’ve followed all of the previously described steps in preparing for the shoot (such as cleaning, steaming, and positioning the clothing and setting up your studio and equipment properly), this should keep the amount of time you spend editing your photos to a minimum. The editing process can include improving your photos’ sizing and alignment compared to one another, cropping, color modification, and another creative editing you may want to consider performing before uploading the photos to your online store.
- Alignment – Because you’ll be uploading multiple images of individual and similar items to your online store, you’ll want to make sure that the images are the same or very similar in size to make the presentation more appealing. As you review the series of photos, you want to center the images and align the edges and corners to appear to be the same size. Photoshop provides a tool that is very helpful with aligning images.
- Cropping – As you’re working to align images, you may find that some of them need to be cropped, which removes some of the outer areas included in the photo and then resizes the image, resulting in an enlargement of the cropped section of the image. As with alignment, the goal is to crop images you’re uploading to be identical or similar to one another on the online store.
- Color modification – Even with all of the lighting and camera setting efforts you make, some colors are difficult to capture correctly in a photo. You want the color in the photos of the clothing items you’re uploading to be as accurate as possible. A customer can be miserable to receive an item that does not appear to be the same color as the item in the photo on your site. Photoshop also has tools to help you modify the color to be more true to the actual item when needed.
- Creative editing – As you become more familiar with photo editing and Photoshop, you can also perform some general creative editing to boost your photos’ quality. This type of editing is what you would use to create the invisible or ghost mannequin effect.
18. Uploading the Photos to your Online Store
Once you’re happy with how your photos look, the last step is uploading them to your online store’s site.
There are product image guidelines on most online marketplaces. These will include guidelines for options you may want to add, like a zoom function that enables customers to zoom in on photos to get a closer look at fabric or other features, so if this is an option you’re interested in for your photos, be sure to research these guidelines.


