

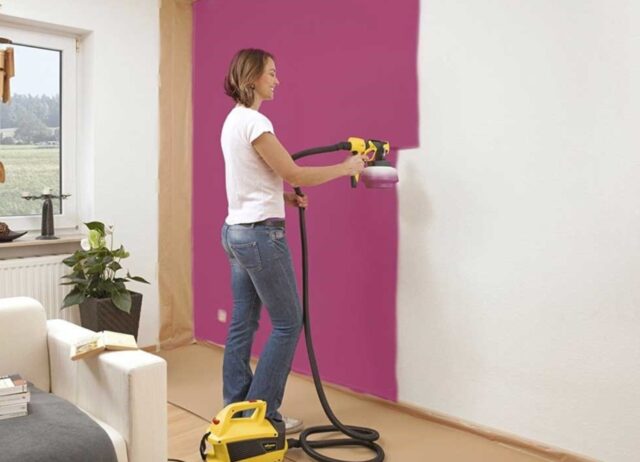
Making your interior dazzling certainly has much to do with clean, beautifully painted walls. When you enter someone’s home you simply can’t escape noticing those nicely colored surfaces that tell so much about the taste and the preferences of the owners. So, what can we do as beginners to achieve that sparkling glow of the neat-looking interior walls? First of all, we need to be ready to accept the fact that the job isn’t so stress-free and easy as it may seem from afar. All of a sudden, when you decide that you want to do the painting job – you may realize how big your room is and how many patches and ridges it has.
Accepting that is the first step towards making your DIY interior design ideas a reality. But hey, don’t get discouraged – there are some tips and techniques you can follow if you want to make your interior work a massive success even as a total beginner. So, let’s get started by getting familiar with some of the tips and techniques that pros won’t tell you about. Follow the tips below and make your project go smoother and faster.
1. Plan your project
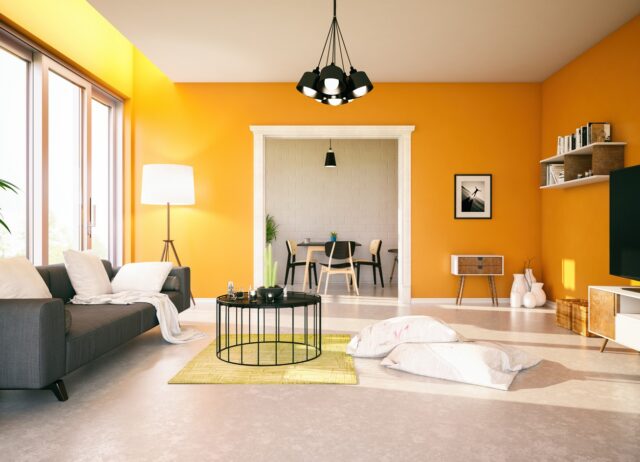
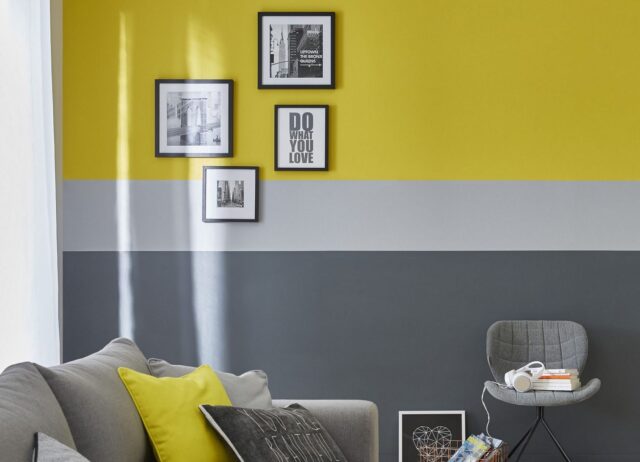
Start by having in mind how you want your interior walls to look like as a finished project. And, well, remember to keep an open mind to different approaches. You don’t need to limit yourself by getting all four walls in the same color – consider an accent wall in a contrasting shade and don’t forget that the ceiling could be refreshed as well. Put all your ideas on the table and decide which ones match the area you’re trying to refresh. The good thing about this is that help is always available. That’s precisely why people hire services of LikePainting and similar companies – experts do have your back throughout the whole process from picking a color to the final cleanup. They’ll know how to fill the gaps and holes in your plan and make it work exactly in the way you imagined.
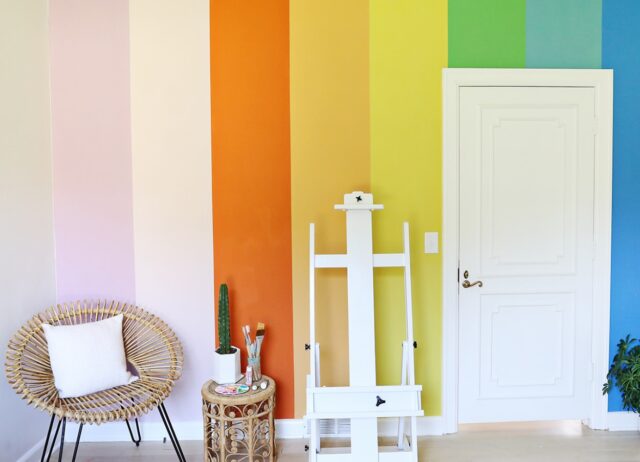
2. Choose a color
Take your time in choosing the right colors. They’re quite a vital part of room aesthetics. Therefore, when choosing them, you need to choose with caution so that you don’t regret your choices afterward when all the work is done. You should decide on what you want to achieve by having the room in a particular color. Do you want your living space to be soothing and calming or energizing? If you can’t determine which shade would be the most suitable, then try to look for inspiration in the things around you that are already in the room. Try to consider furniture nuances and dominant colors of works of art so that choosing the complementary one will make that furniture stand out.
3. Buy an extra bucket
Since you’re a beginner, you might never know for sure how much gallons you would need to get. Without the proper assistance of a pro, it’s possible that at some point you run out of it. That’s why it’s highly recommended that you buy an extra bucket – it’ll save you much time for the actual work, the hassle will be avoided and even if you don’t use it now, you’ll have it at your disposal for later.
4. Buy quality tools
When it comes to tools you need for this DIY job, you shouldn’t be stingy at all – even if you need to spend some extra cash and more than you planned, having quality tools is rather significant. You don’t want the bristles to fall out of the brush just right after you started the work. Also, the more expensive color will give you better coverage. A good brush will make you reach all the angles well and can last a long time, even after you wash it many times. You see? It definitely matters what you use.
5. Make sure you protect furniture
This one here is quite simple – if you can’t move the furniture out of the room, just move all of it to the center. Then, get some plastic sheets, cover all the pieces, wrap it well, and tape them at the bottom. This should help you protect them from all the dust coming from sanding and from drips and splatters.
6. Smooth the surface
Before starting the work you have to ensure a perfectly smooth surface. Get good sandpaper and spend some time sanding out patches and ridges around the nail holes. First, you need to become as skilled as a sander before mastering a painter’s job – it requires patience and technique because you don’t want to put too much pressure on the sanding pull and end up damaging the wall.
7. Remove switch plates
This one is pretty much clear as to why it is mentioned as a tip. Why waste your time pasting around switches when you can simply get the screwdriver and take them off? This way, you’ll avoid having messy coverage around the plates and get the neat wall.
8. Use painter’s tape
You should always get a high-quality painter’s tape and not the masking tape since that’s what pros always do. It protects the switches, outlet covers, parquet, or floor and it sticks up better. Use a putty knife or mini scraper when removing the tape – using your fingers is a true no-no. They’ll prevent drips and secure sharp lines.
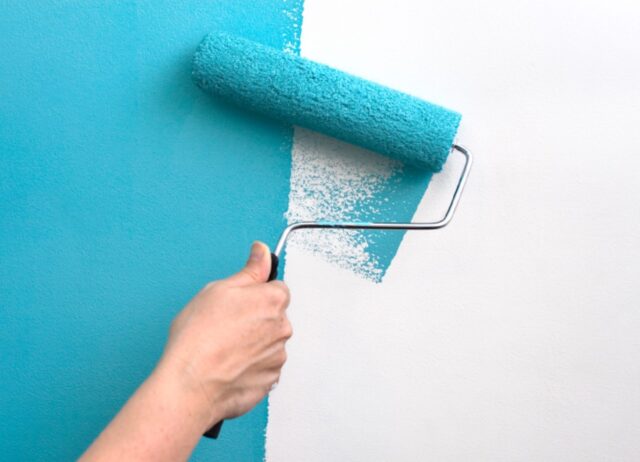
9. Don’t go without a primer
A primer needs to be used before applying the paint as it ensures that smooth and long-lasting glow. It helps in covering the flaws and is perfect to be used for more difficult surfaces such as stained and porous walls. Also, the primer eliminates texture differences and seals the patches so the wall will look lively and not dull.
10. Use drop cloths
No matter how careful you are, some spills will happen for sure – but no need to panic. All you need are a few canvas drop cloths here and there. They’re thick and there’s no need to tape since they stay in place unlike the plastic drop cloths. Always choose canvas so you avoid the slippery surfaces – especially when you’re on a ladder.
11. Mix paint in a large bucket
This is a process known as ‘’boxing’’. Each color slightly varies from the other so if you open the new one in the middle of the work – the difference may be visible. To eliminate the problem – mix all the gallons in a big bucket and don’t forget to stir it very well.
12. Avoid lap marks
Lap marks happen when you brush over dried paint and darken the color. The secret to eliminating the ugly lap marks is to mix an extender into the paint. The extender slows down the drying time and gives you more time to overlap just painted areas without getting the lap marks.
***
The major and the final tip is – don’t consider yourself slow and take your time with prep work. Rather think of yourself as cautious – after all, you’re a beginner and you need to take it slow. You’ll be more content with your work when everything’s neat and you’re proud of that fine work you’ve done!


