

Each of us has at least once tried to fix a TV aerial or make it better but without success.
Every time the malfunction recurred, you would be dissatisfied with the providers as well as their constantly rising prices and so on.
Do you constantly feel dissatisfied with bad antennas? Maybe then the best solution is to make it yourself. Don’t spend money trying different alternatives, better focus on gathering information on how to do it yourself, and to get most channels out of it.
How to make it yourself?
Antennas have been around for so many years, but finally, it has never been easier to make one modern HDTV antenna, and all you need is cardboard and aluminum foil. In this case, you do not need special skills, for example, in the field of electronics. This guide is very simple, and you will see for yourself.
As we have already said, all you need from the material is cardboard, aluminum foil, glue, tools and coaxial cable.
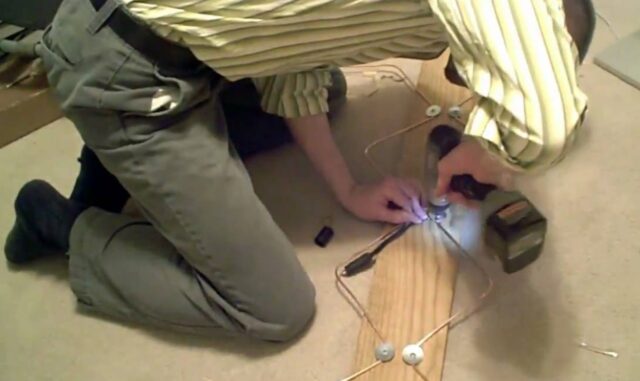
Step 1: At the very beginning, you have to deal with the setting, and for that, you will use cut cardboard of appropriate dimensions, which you will glue to the back of the aluminum foil. Do this very carefully because you are still working with glue, and the most important thing is to flatten the foil enough. Our advice is to decorate the front with some interesting stickers, markers, or whatever you want. After this, leave the cardboard to dry.
Step 2: Cut pieces of cardboard for the antenna. Once you have done that, you should get two copies of the cardboard with a specific look. Using a cardboard cutter, you will get a pattern that has a main longer part and, in the end, two wings that are attached to it. In addition, make two slots as mounting brackets.
Repeat this with the foil, but use scissors instead of the cutter because the foil is more sensitive and prone to tearing.
Step 3: Shape the “wings”. Make slits in each wing so that you can bend their ends towards the inside and shape them that way. To further strengthen them, you can add a little glue at the point where the part of the wing bends, be careful because the angle of the side of the wing should be around 90 degrees. Allow it to dry.
Step 4: Cover the shaped wings with foil. Stay as careful as before because you still work with foil that breaks easily. Neatly glue the foil to the back of the wing, flatten it so that it is smooth. Do not use a lot of glue and leave it to dry at the end.
Step 5: Mount the brackets. Now it’s time to install the brackets. First, make sure that your project or its main piece has dried well. Determine where the brackets will stand, make square-shaped slots, and then insert the brackets into the resulting small holes.
Attach it with glue and let it dry.
Step 6: When you are done with the main parts, connect them to the wings using the brackets. Add a little glue to attach well, and after the glue dries, just add wiring.
Congratulations! You managed to make your own antenna. Do not allow your efforts to be in vain and external influences to spoil your masterpiece. Even though it is working and you have found all the desired channels, it is enough for the cat to walk next to the antenna or, due to the weather, disturb watching your favorite channels.
Ways to get more channels with a homemade antenna:
1. Locate broadcast towers are in your area
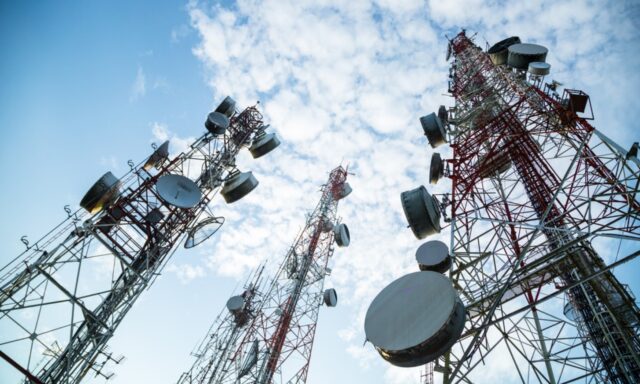
Our advice is to do this before you start making an antenna. This way you will be able to determine the potential of your aerial in advance and thus get better organized when determining its position.
Today, with modern technology, it is not difficult to locate such places at all, numerous applications offer you numerous possibilities. So with the help of certain information such as your street, you can determine the distance you need.
2. Place it near a window
You have realized how important it is for your aerial to be close to the broadcast tower. This means that the window should also look that way because the antenna must be near it for that very reason. The walls themselves are a sufficient obstacle to achieve the best results of channel broadcasting, so find the clearest possible visibility that the aerial can access.
Of course, it is desirable that in front of the window be clean or that there is no tree, fence, or any other obstacle that could contribute to the interference.
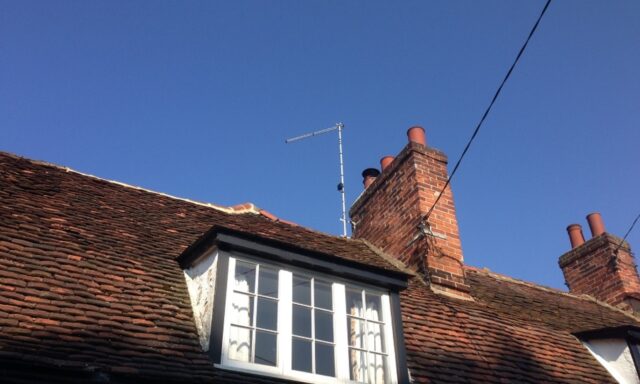
3. Place it as high as possible

If you use the above-mentioned applications that ask for your data to estimate the distance, know that you will also be asked to enter the height at which the antenna is located. This means that this is extremely important for the reception – the higher it is, the better reception. This is the reason why every expert will advise you to keep the antenna outside, and we tell you to do it at the highest possible height.
4. Don’t let metal interfere your signal
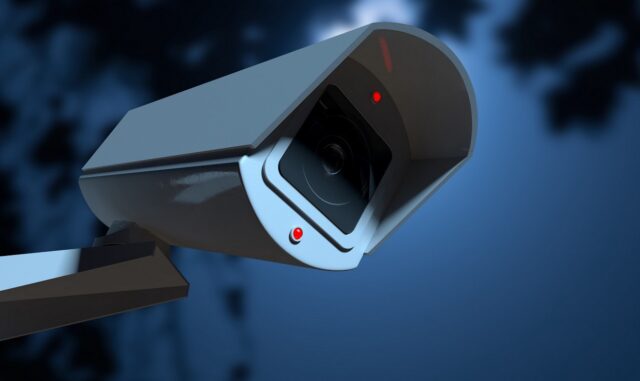
Metal is one of the biggest enemies of reception. It will block reception in every possible way by causing constant interference. So avoid positions that are close to any metal objects or technology to avoid problems. Also, make sure your CCTV is not interfering with aerial.
If you notice problems, call professionals, like mikeharrisaerialandsatellite.co.uk, to fix that issue because you can’t do that on your own.
5. Test different positions
We’re sure you can’t wait to finally try out your antenna, tune in and watch your favorite channels on the comfy sofa. Unfortunately, we will have to disappoint you for a moment and tell you that you will have to postpone this, but for a very short time.
Before you can finally position your antenna, you will need to change several angles before opting for one for better reception. You will do this by flipping through the channels in each position or testing their reception and figuring out which gives the best results.
Conclusion:
We hope that with the help of these tips, you will be able to create your ideal antenna for which you will find the best possible position and thus provide yourself with maximum enjoyment. Be patient during the setup, research and we are sure you will succeed.


