

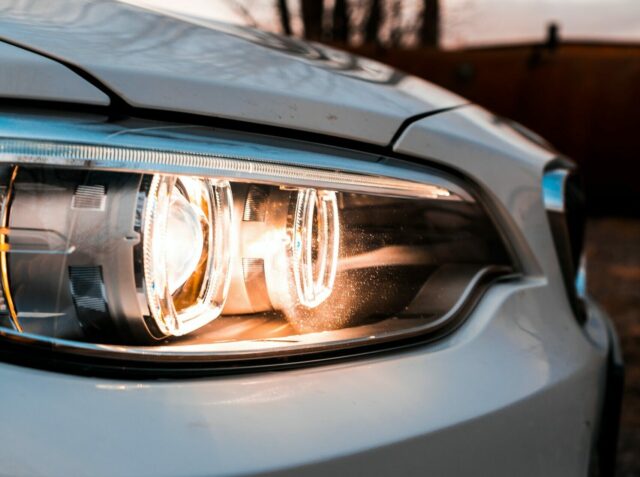
If you want to replace or repair a headlight relay, then you might wonder where they are located since they change depending on the car model. Headlights are easily damaged by road debris or weather conditions. They also degrade over time from exposure to sunlight and heat. Replacing them every year helps prevent these problems.
In order to ensure that your vehicle’s headlights operate properly, you need to check out their condition regularly. But, what do you do when you notice a problem?
It is important to follow certain procedures to ensure that your headlights are working efficiently. This article will give you some practical solutions that you should consider before taking action.
You may still ask: How often should I change my headlights? How long does it take to replace them? What kind of bulbs should I use?
These questions may seem simple, but they can affect your safety. Headlights play a vital role in helping drivers see at night. If they aren’t working properly, you might not notice a problem until it’s too late.
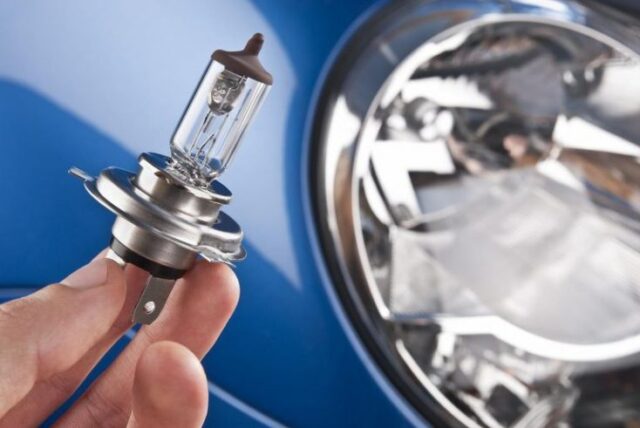
The first thing you should check is whether the bulb is still good. If not, replace it immediately. A burned-out bulb might look okay, but if it isn’t working properly, it could cause problems down the road.
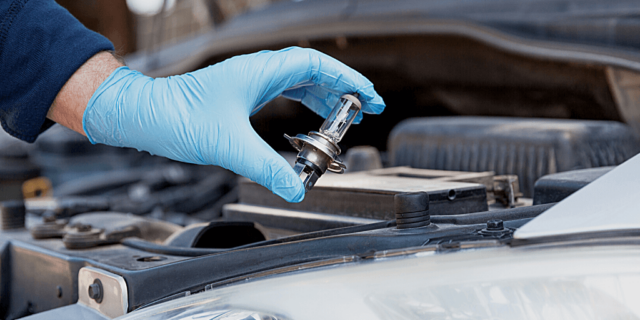
Next, take the relay cover off and disconnect the wires that go to the relay. Then, remove the relay from its socket and inspect it carefully. Look for any breaks or cracks inside the housing. If you find anything wrong with the relay, replace it. We suggest checking suncentauto.com to find quality bulbs for your vehicle.
If all else fails, try using some electrical tape to temporarily repair the broken connection, before you take it to a mechanical repairer to resolve the issue.
In order to keep the things in their place, until you take the car to the repairmen, you should:
- Change bulbs first, as this is the most obvious thing you need to do
- Make sure your lights are clean, because sometimes it’s just easy like that
- Use LED lighting because of their longevity
Surely, there are a few more things you can do, and we will cover them now:
1. Check your lighting system
The first thing to check is whether the lighting system is working properly. If not, then you need to replace bulbs, change out dimmers, turn off power to unused lights, etc. A good way to test if your lighting system is working correctly is to use a cheap digital multimeter (DMM) to measure the voltage across each bulb socket on your fixture.
If any of the sockets have no voltage at all, then you know that either the fuse has blown or something else is wrong with your wiring. In both cases, you should get a professional electrician to look at the problem.
Also, you can see if any of the electronics mess with the light circuits. Sometimes, in some car models, the circuits are places in pretty inaccessible places, so repairing them requires professional action.
2. Replace the broken bulbs
If you still find that the light does not work after checking the electrical circuit in your vehicle, then you may want to replace some of the bulbs. There are many different types of bulbs and they operate differently.
Make sure that you choose bulbs based on the type of light they provide, but also to fit the feature of your car. For example, incandescent bulbs tend to produce warmer colors than fluorescent lamps. It may not seem important in the first place, but many people have different preferences.
Also, make sure that you buy bulbs that match the wattage rating of your car electronics. If you can’t do it yourself, make sure you ask an expert what to do with it.
3. Change out dimmer switches
Even the vehicles have switchers that help you control the lighting inside the car, but also other signal lights. Sometimes, it’s even surprising how many times switchers are broken or somehow mess with the light performance.
So, if something seems wrong, maybe you need to check on the switchers and see if everything is fine with them. If not, it’s easier to fix them, instead of replacing the whole lighting system. It’s up to you to do that. But, if you are not sure how to perform that check, take the car to a mechanician. That way, you are sure you won’t do anything wrong.
4. Use proper bulb size
Some bulbs perform better than others, but you need to use those that are appropriate for your vehicle. We suggest consulting with the sellers, so they can recommend the best option for the particular car.
On the other hand, it’s always better to test something that may work well and last longer, depending on what exactly you need. Anyway, using the proper size will ensure durability and great performance. Don’t go for something smaller to save on money, or bigger bulbs that may not fit at all.
5. Test lighting circuitry
After performing tests on the lighting system in your vehicle, you should now perform a series of tests on the circuitry that powers the lights. First, you’ll want to plug a voltmeter into the wires leading to the light. Next, you may need to disconnect the wires from the fixture and connect the meter directly to the fixture’s power supply.
It seems like a complicated thing to do, but if you want to fix the vehicle lighting alone, then you must use these tools to do that.
Conclusion
Sometimes things are really simple, but sometimes we need to invest time and money in them. No matter what your vehicle’s lighting is, you should always make sure that everything is working properly. In many countries, it is a criminal offense if your car’s lights are not working.
That’s why we suggest you learn to do some things yourself.
This article will help you learn the basics, but it’s up to you to decide how to use this knowledge in the future.


